At some point, every property owner must face one of the most significant homeowner responsibilities: roof replacement.
If you are a homeowner, you know that that comes with countless responsibilities; the biggest of those responsibilities might be maintenance, repairs, and replacements. And the biggest of those? The roof.
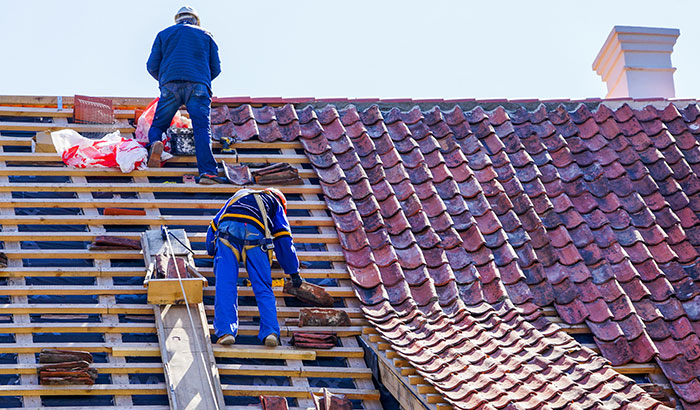
The roof is one of the biggest structural components of your house, and replacing the roof could mean removing and replacing up to 7,000 pounds of roofing material. The roof is an essential part of your home. It is the first line of defense and plays the biggest role in keeping you and your loved ones safe and sheltered from the elements.
Unfortunately, roofs don’t last forever. Regardless of what kind of roof you have, replacing the roof is inevitable. If you’re a homeowner and you’ve determined that “it’s time to replace my roof,” it’s best to know what to expect. So, we’ve gathered our pros to outline everything you need to know during a roof replacement.
Keep reading to learn more about roof replacement!
What to Expect During Your Roof Replacement
There’s no doubt that a roof replacement is a big job. Thankfully, there are things homeowners can do to prepare themselves and their property. Regardless of the type of roof on your house, the process is more or less the same. Here’s what you can expect:
PREPARATION:
Knowledge is power, even when it comes to roof replacements. If you know what to expect, you’ll know how to prepare the inside and outside of your property.
- It can get messy if your roof requires replacing any damaged plywood. You’ll want to cover up any furniture, clothing, and bedding you don’t want to get dirty or destroyed. Be sure to cover your belongings with a sheet or tarp you don’t mind getting dirty.
- Similarly, if you have an attic and anything stored up there, you should cover up those items as well. Remove any special or valuable pieces from the area to avoid damage. Your grandma’s precious wedding china? Get it as far away as possible!
- Re-roofing and constant hammering can cause vibrations that may knock wall decor off the walls. Consider taking them down before the project begins. This could include pictures, mirrors, knick-knacks, etc. Be especially thorough on the top levels of your house because they are sure to move more. And a broken picture frame that falls two levels could result in broken shards of glass everywhere.
- Moving outside, you should move anything surrounding your home that could become damaged by falling roofing materials and other debris, such as grills, potted plants, and outdoor furniture.
- Before shingles can be removed, antenna, satellite dishes, solar panels, and any other rooftop extremities should be taken down. Expect television and solar electricity interruptions.
- If you have any cars, boats, and other vehicles parked in areas on your property that could become damaged, move them down the street during the project. Moreover, this gives your roofing contractors plenty of room to work and maneuver around your house. They’ll be grateful for the extra space; you won’t have to worry about dented or damaged vehicles.
- Generally speaking, a roof replacement is a two-day process, but it highly depends on the size and shape of your roof. Some jobs take a day to complete, while another job could take up to three days.
Chatting with your roofing contractor will give you a good idea of the timeline of your re-roofing project. You can have this chat right when they start, but they might have a better idea of how long it will take after they’ve had time to inspect your roof. - In most cases, there will not be any reason to move out while replacing your roof. All disruptions should be minimal since most roofing contractors work doing regular office hours. However, those working from home may want to consider other working locations.
CHILDREN AND PETS:
- Families with small napping children may also find the noise to be disruptive. If this is the case, you may want to look into spending time with your family or friends.
- During the teardown and reconstruction of your roof, there’s a good chance debris will fall from your roof, an obvious safety risk for kids and pets. Keeping pets and children inside during the roofing project is wise.
- If your kids are old enough to understand, tell them they’ll need to be careful around the house because of debris and equipment. Make sure they are always wearing their shoes when outside.
- The re-roofing process is noisy, so if your human or animal children are sensitive to noise or become anxious or stressed, try staying where it’s quiet.
STEPS DURING THE ROOF REPLACEMENT PROCESS:
The process is very similar whether you have a shingle, slate, or metal roof. To sum it up, here are nine basic steps of a roof replacement:
STEP 1 — Protect Your Property
The first step your roofing contractor will take is to protect your property while replacing the roof. A good roofing company will add tarps and plywood to protect the rest of your property during the project, such as plants, siding, and more.
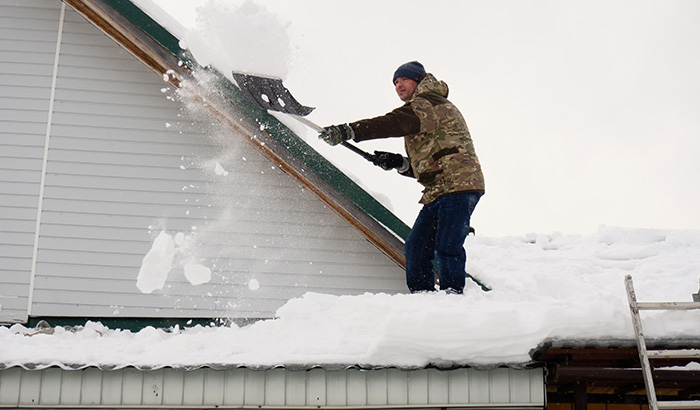
Seriously, there will be lots and lots of tarps. Tarps are hung from the exterior walls to protect windows, siding, plants, decks, and more. In the event of rain or snow, tarps will also be used to protect your roof during the installation or repair process.
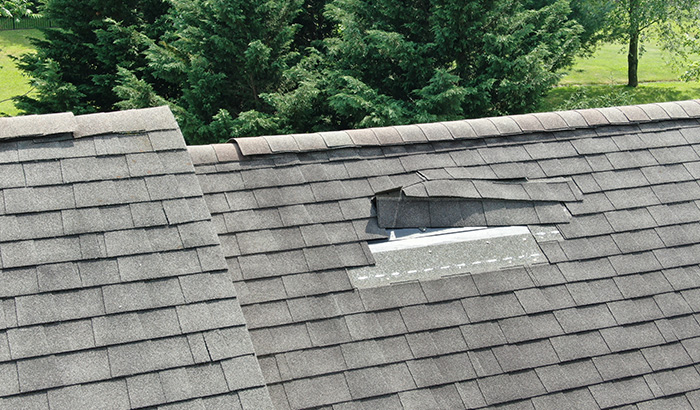
STEP 2 — Remove the Old Roof
Next, your old shingles or other roofing material will be taken off and removed so a thorough inspection of the plywood decking can take place. It might be a while before you see the installation of your new roof happening.
Once the shingles (or metal or slate roofing materials) are removed, the flashing and vents will also be removed. You may notice that your contractor will keep materials together in an orderly fashion. It is essential to staying organized, safe, and efficient on the job.
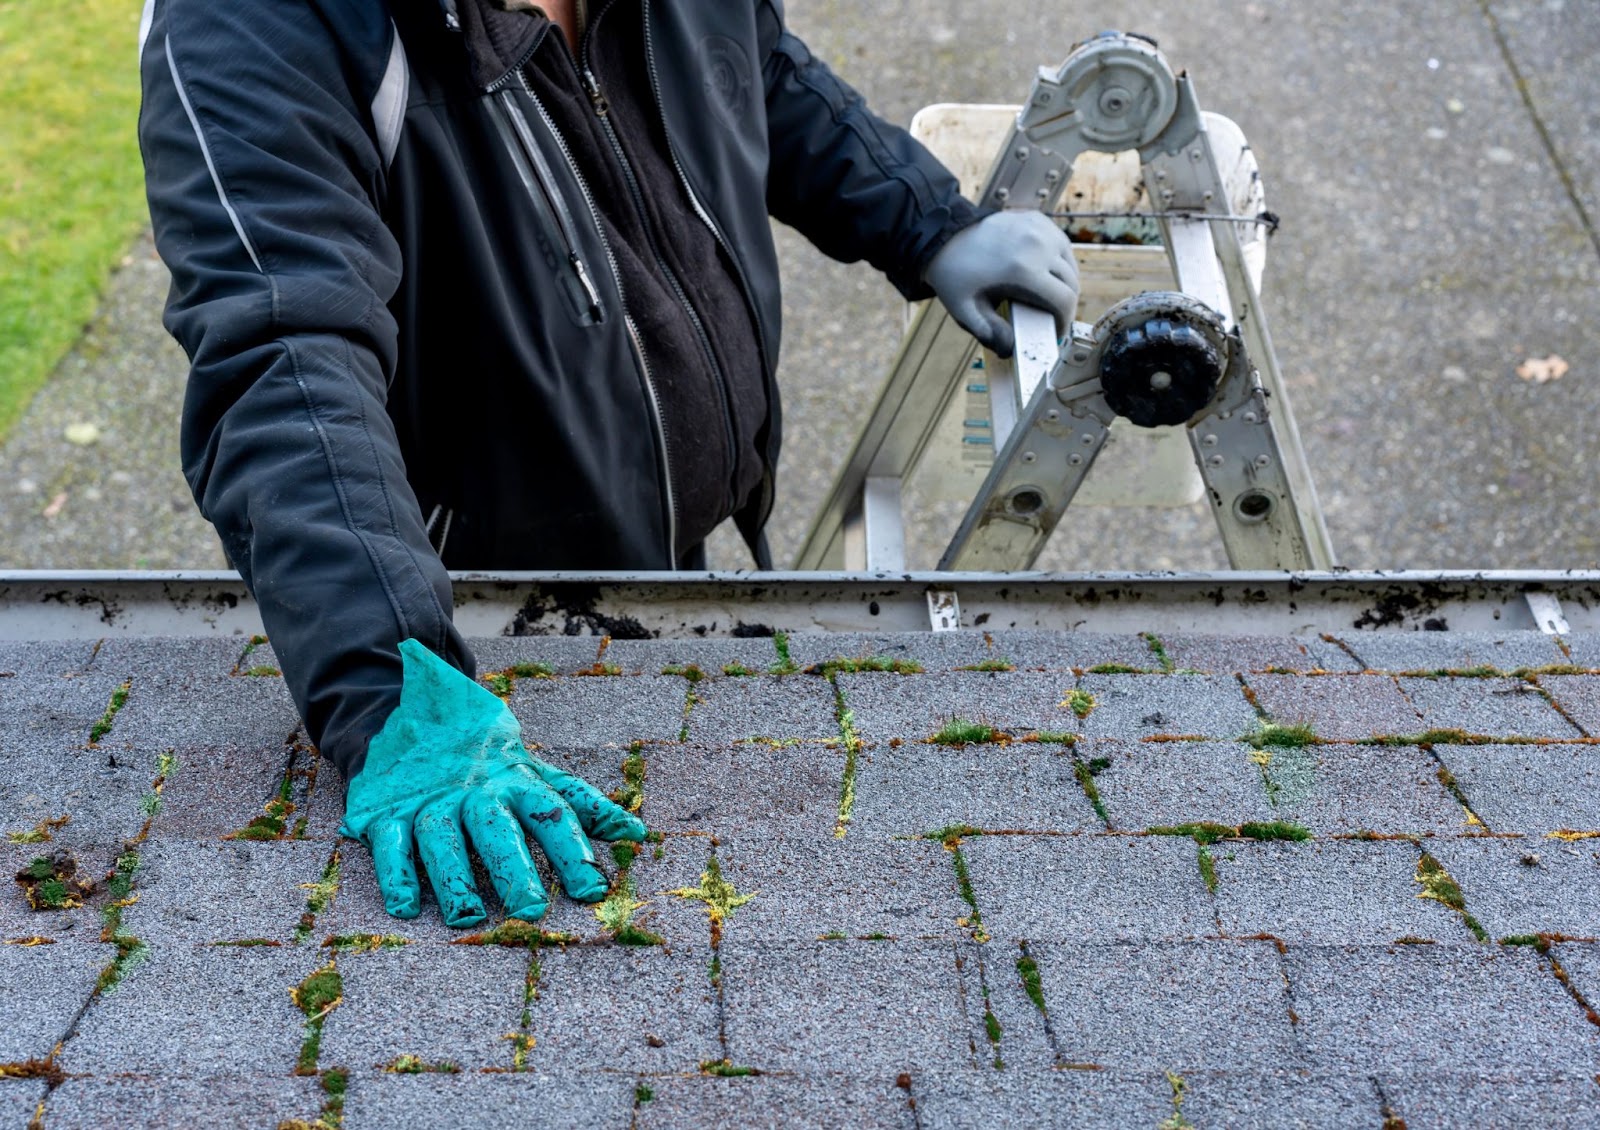
To remove shingles from a roof, your roofing professional will use a garden or a roofing shovel. These tools efficiently loosen ridge caps, pry up nails, and pull off shingles. This process takes a lot of time since there are many dirty, heavy shingles.
In addition to your shingles (or another material) being removed, the flashing must also be removed to ensure nothing is lurking beneath it. Flashing, caulk, and adhesive is removed from chimneys, valleys, and vents.
STEP 3 — The Decking Inspection
Any soft, wet, or rotted wood found during the inspection will be replaced. This step is essential to ensure the base of your roofing structure is solid.
If your roofing materials are installed on damaged wood, they can shift, leading to leaks and other issues which completely negate the reason for installing a new roof. A solid base means your roofing materials, such as your shingles, will stay intact. The inspection will also ensure the wood sheeting is correctly attached to your roof.
STEP 4 – Other Inspections
Your roofing contractor will check out your existing vents to ensure none need replacing. Roofs that are not properly vented will only last for a short time. Your roofing contractor will also look for rust or rot on the flashing or framing of your vents. If they find rust or rot, vents should be replaced.
Your roofing professional will ensure any insulation is removed from the soffit vent openings. They will check your attic to see if your intake or exhaust vents should be retrofitted. The vents from your bathroom, kitchen, and laundry room will also be checked to see if they need to be cleared out or replaced. If you do not have vents in your bathrooms or kitchen, now is a great time to install one.
Any quality roofing contractor will also inspect your gutter system for separations, dents, and other signs of damage. It’s not uncommon for them to ask about how they work, such as if there are overflowing issues. If there are issues, now is a great time to have your gutters replaced or repaired. If your gutter system is working properly, you can focus on your roof instead!
STEP 5 — Roof Edge Prep
After the wood decking is prepped, all of the eave edges are lined with a drip edge, a metal piece with a 90° bend that helps stop rain from seeping under your roofing material at its edges. Installing the drip edge before anything else is crucial to protect and support your roofing materials.
STEP 6 — The Underlayments
The underlayments are a special roofing protective layer that sticks to the wood decking to prevent water from leaking into your roof. These underpayments include the water, ice shield, asphalt, felt, or tar paper. We like to think of the underlayments as the unspoken hero of any roofing system. They are essential to any roof and are a secondary barrier for your roof.
This shield must be applied at all roof penetrations, like chimneys, pipe flanges, roof connections, and the bottom of your roof. Without it, these areas could crack and weaken the structure. After placing the shield, the roofing felt is applied to your entire surface. This prevents new roofing material from sticking to the wood.
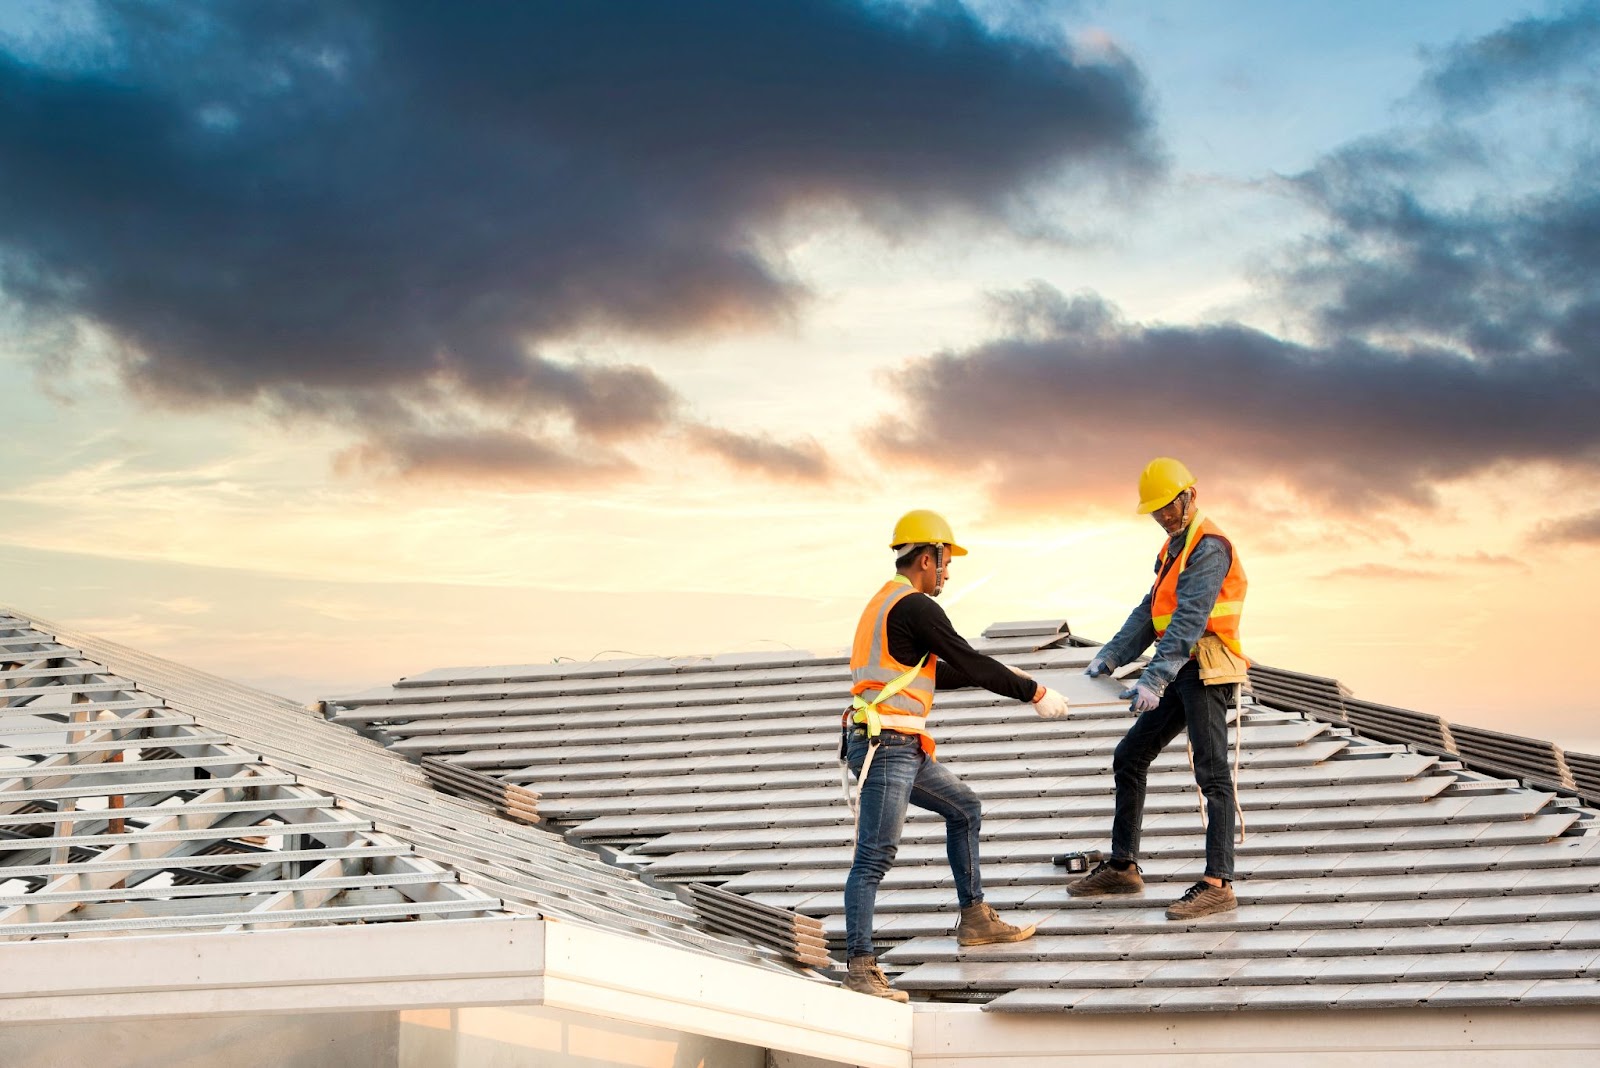
STEP 7 — Installing Your New Roof
Steps one through six are all about preparing the base of your roof. Once the base is complete, your roofing professionals can begin laying out your new materials. First, your roofer will draw lines all over your roof to ensure their alignment is perfect and square to your roof.
Your contractor will start at the bottom and work their way to the peaks of your roof. The under-row layer is the beginning of your roof installation. They follow specific steps while they install ridge vents and capping and counter flashing when necessary.
STEP 8 — Job Site Clean Up
The best roofing professionals will clean up the job site completely. Equipment is removed, the dumpster and old materials are taken off-site, and scuffed driveways and damaged grass are repaired. The best roofing companies will always leave the job site cleaner and better looking than how the crew found it when they initially arrived!
STEP 9 — A Final Inspection
Lastly, a thorough inspection should be the last step before your roof replacement is complete. Ensuring your roof is installed correctly, meets all your wants and needs, and gets your final approval is essential before the roofing crew backs out of your driveway.
PRO TIPS FOR ROOF REPLACEMENTS:
- Before the roof replacement project begins, chat with your roofing professional to ensure you are on the same page. Make sure you talk about the prep process (what you should do versus what they will do, the cleanup process, understanding your warranty and registrations, etc.)
- Be a courteous neighbor by letting your neighbors know well in advance of your roof replacement. Also, looking into city permit requirements for parking large trucks on your street is a good idea, unless you have the roofers park in your driveway.
Need a Roof Replacement? The We Do Roofing SLC Experts Can Help!
Have you ever wondered, “Is it time to replace my roof?” If you’ve asked yourself that question or already know you need a roof replacement; contact the professionals at We Do Roofing Salt Lake City.
We Do Roofing SLC is Salt Lake County’s trusted and most reputable roofing company. With more than 20 years of experience and a licensed roofing team, we provide expert roof repairs, new construction roofs, re-roofing, and more for all residential and commercial customers along the Wasatch Front.
Our respected team is ready to help residential and commercial buildings in Salt Lake City, West Jordan, West Valley City, Murray, and many other surrounding areas in Northern Utah.
Is it “time to replace my roof?” Contact We Do Roofing SLC today for a quick quote and roofing consultation to find out!